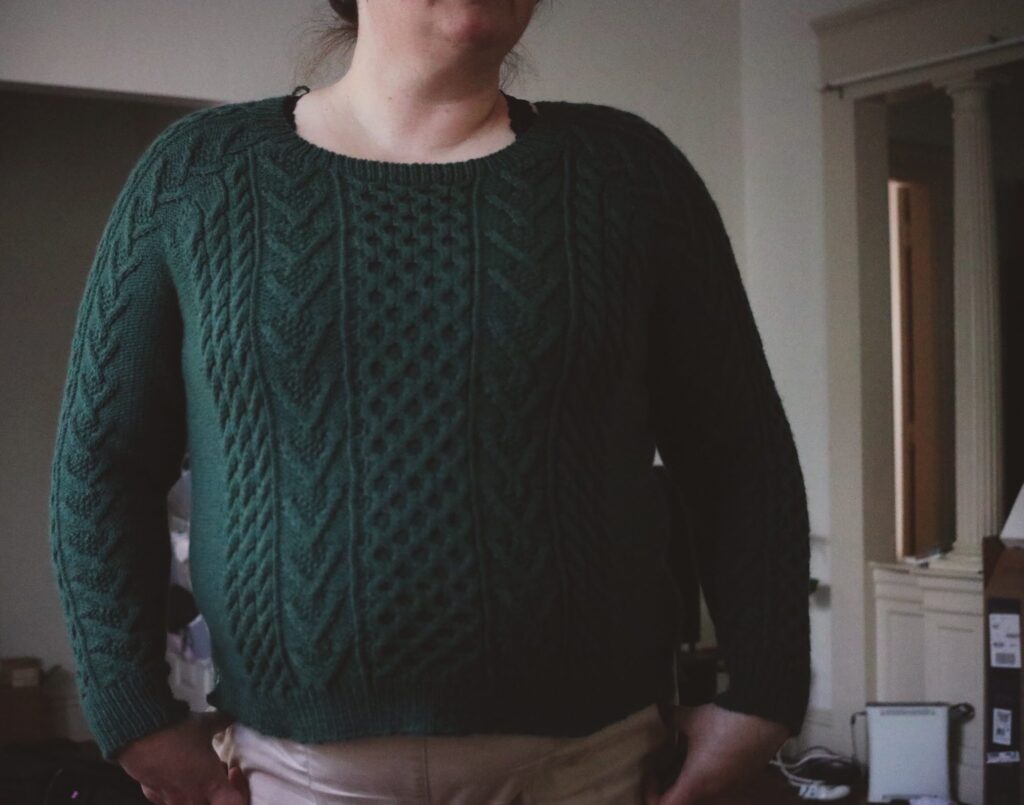
I posted about my Bronwyn Sweater, and I wanted to dive a little deeper into the tubular cast-on I used. Because of course I had to change things. This is me.
The thrill of the cast on
Casting on a new project is perhaps one of the greatest joys of a knitter’s life. And probably the reason why some of us have a ton of projects in progress. There’s so much potential and it’s something new and different than the other things we were working on!
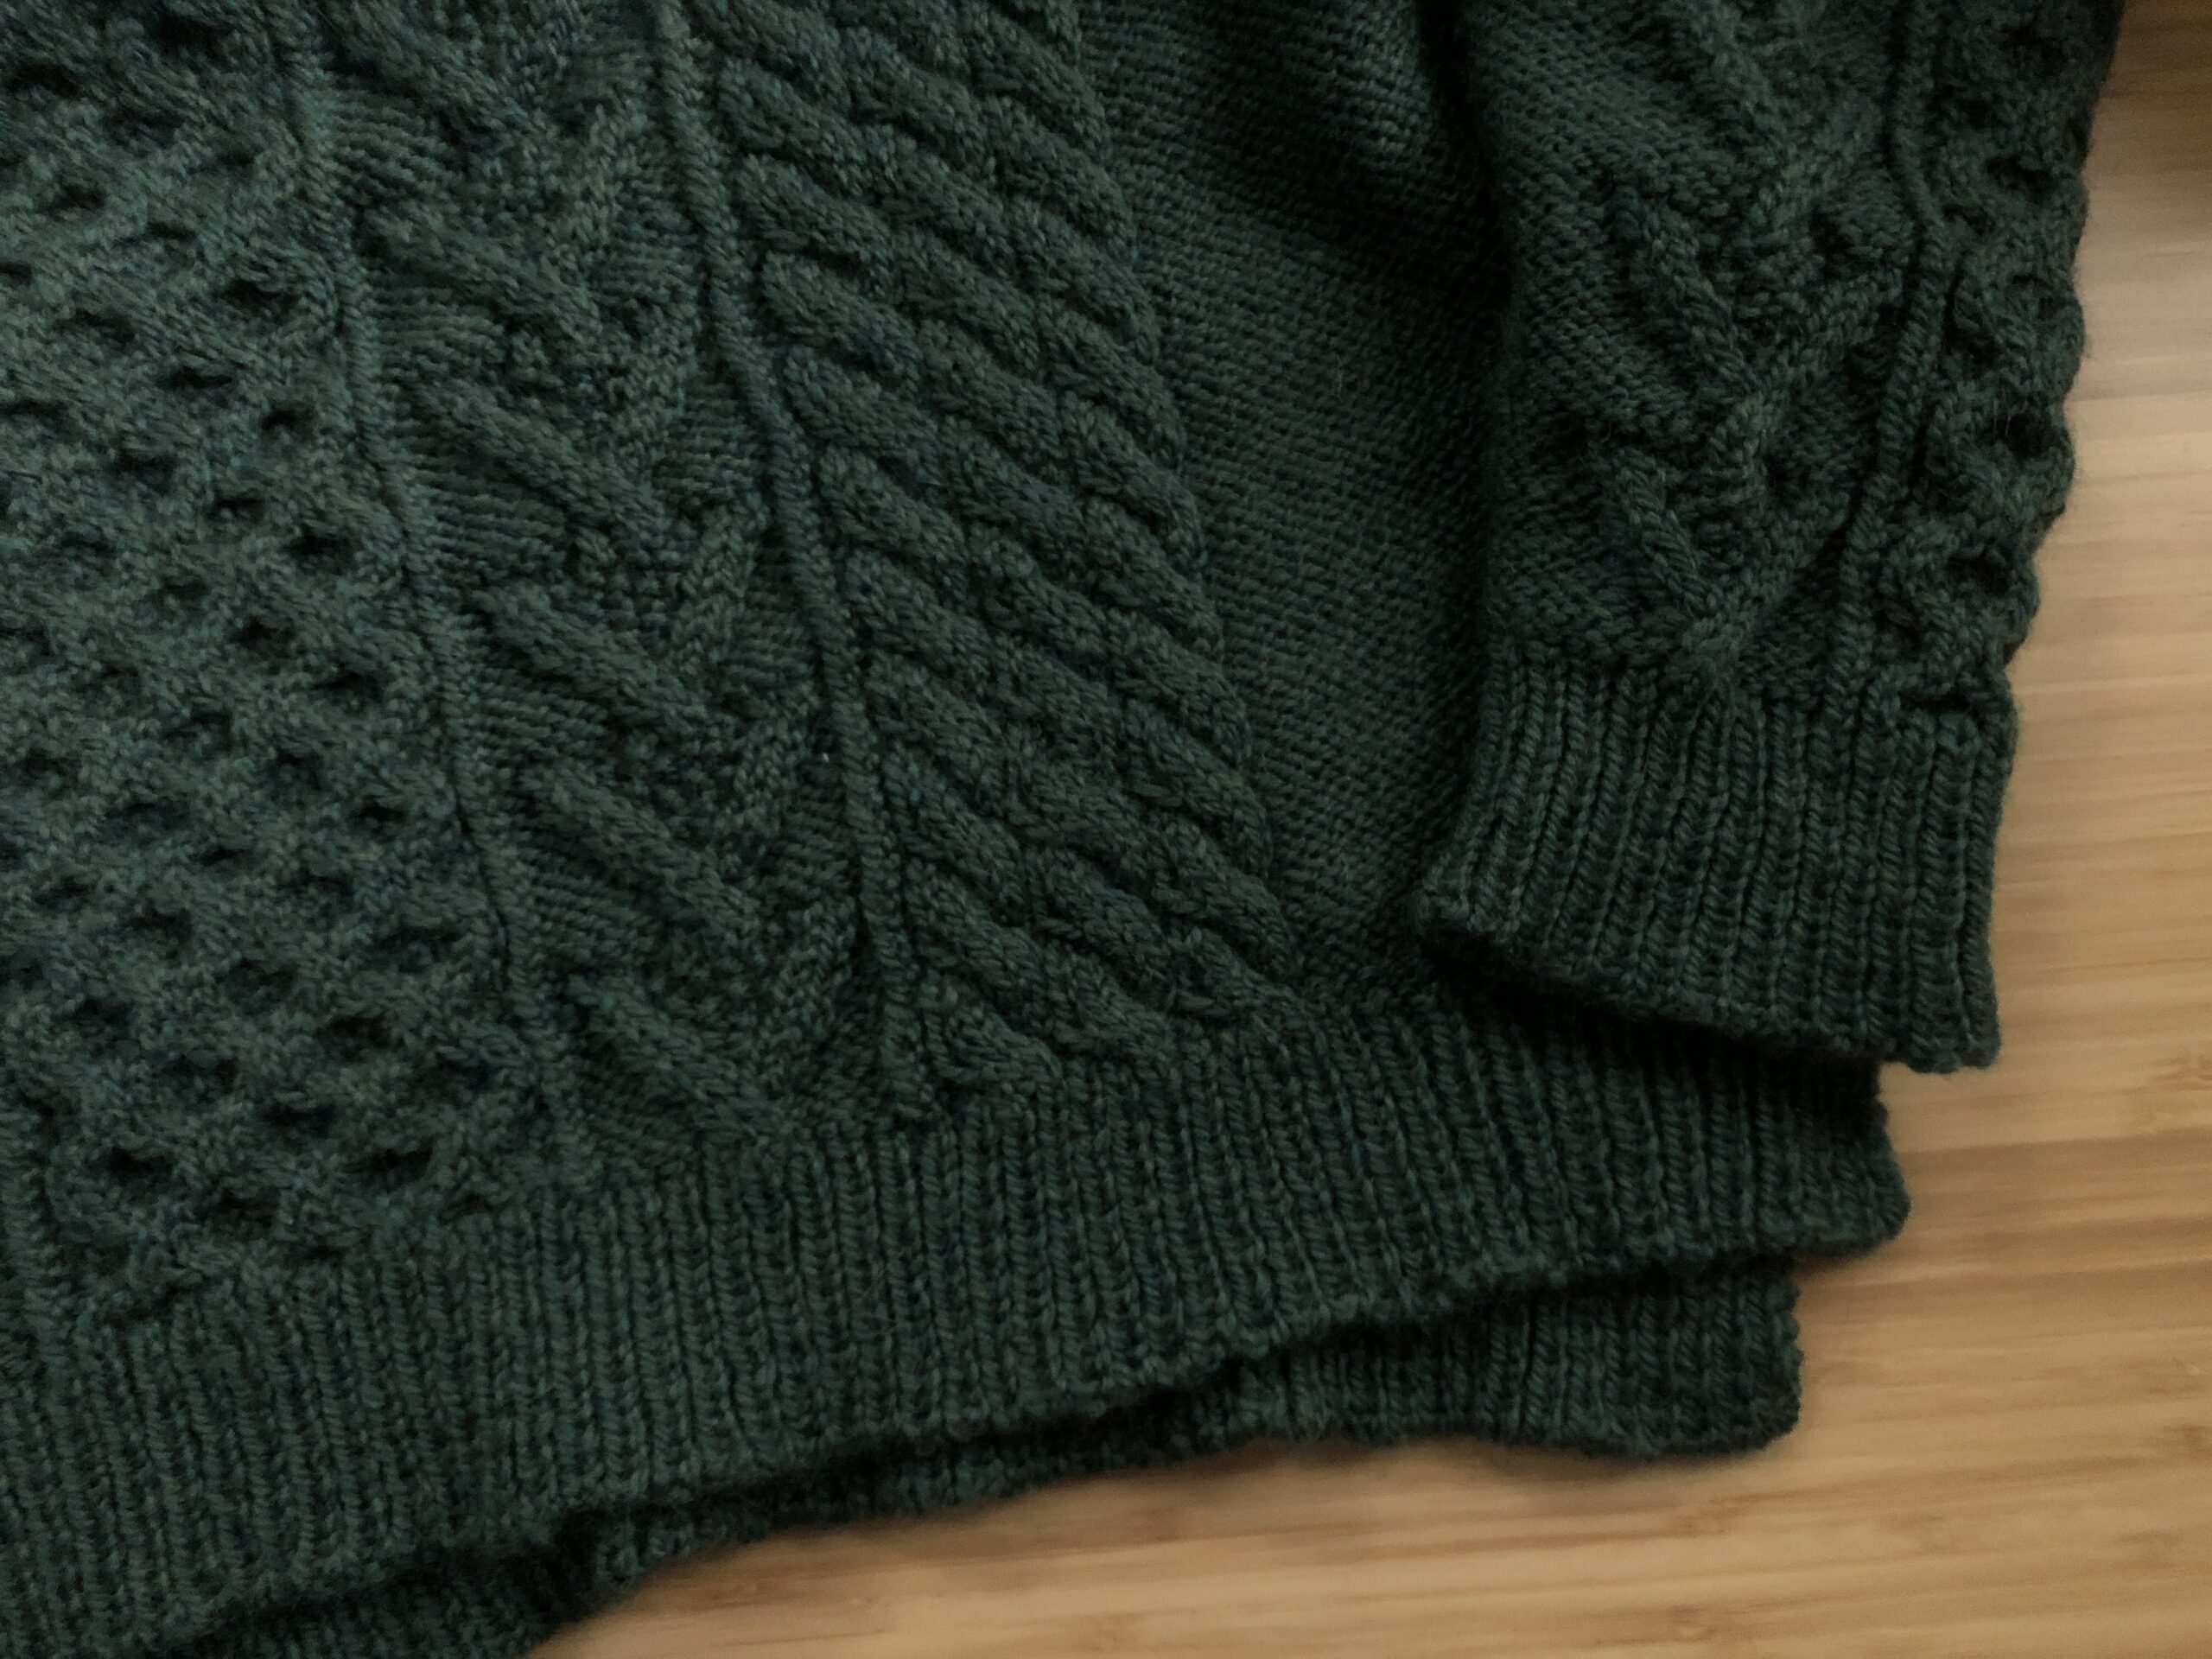
The Bronwyn Sweater calls for a provisional cast-on method that creates a tubular edge; meaning, there’s no defined edge to the ribbing. This allows the ribbing to stretch and making it look very sleek and polished. For me, the tubular method recommended in the pattern is fiddly in a way that I didn’t want to deal with. So I used a different method.
Long-Tail Tubular Cast On
I first learned this cast-on method from Ysolda’s blog, when I was working on one of her hat patterns. You start with a long tail, but you twine the yarn around the needle in a different way that quickly creates stitches and leaves a very nice stretchy edge.
Here’s a video of how I work the long tail tubular cast-on.
Tips for Tubular Cast On
A couple of things to remember about this cast-on method:
- The tubular cast on works best for 1×1 rib (or knit 1, purl 1). With some finagling, it can work for 2×2 (knit 2, purl 2) and I’ve made it work with 2×1 (knit 2, purl 1).
- This method begins the same as for a long tail cast on, so you’ll need a long tail.
- If your pattern calls for an even number of stitches, or you’re setting up to work in the round, you’ll end up with an extra stitch. You can get rid of it by working it together with another stitch (either in that first set-up row, or when joining the ribbing in the round).
- On the first row, you knit as if to work into the back loop, and slip the purl stitches. On the second row, you’ll knit the knit stitches (which were slipped on the previous row), and purl the purl stitches.

[…] Purpose: I worked a tubular cast-on for the ribbing. It’s my go-to for ribbed edges and I love the way it looks. The pattern […]
[…] you have worked a tubular cast on before, you’ve already won half the battle of this method. The other half of the battle […]