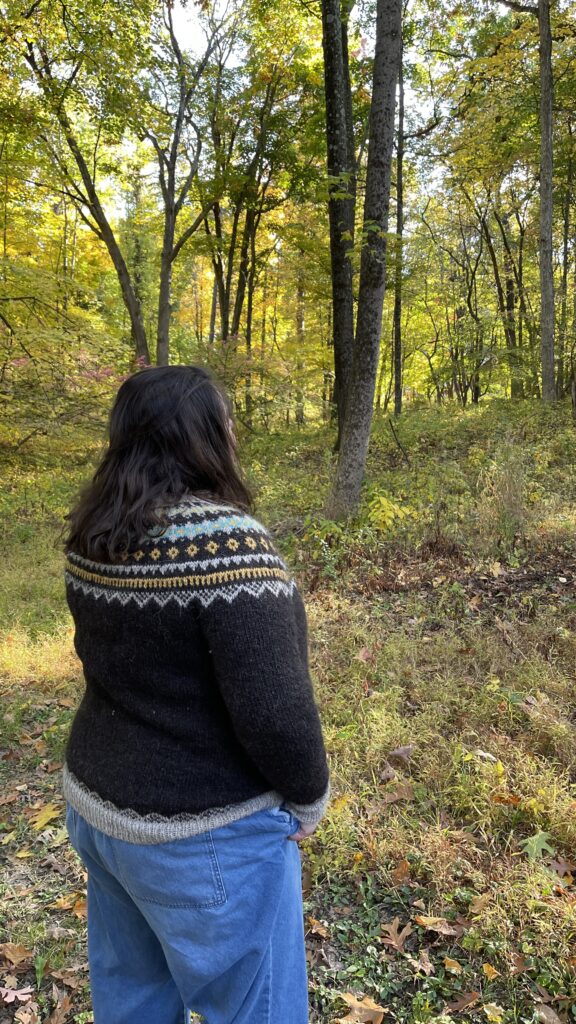
I finished my Solkatla sweater just in time for Rhinebeck! By which I mean I was of course weaving in the ends at the house in Rhinebeck. But hey–I wove in the ends!
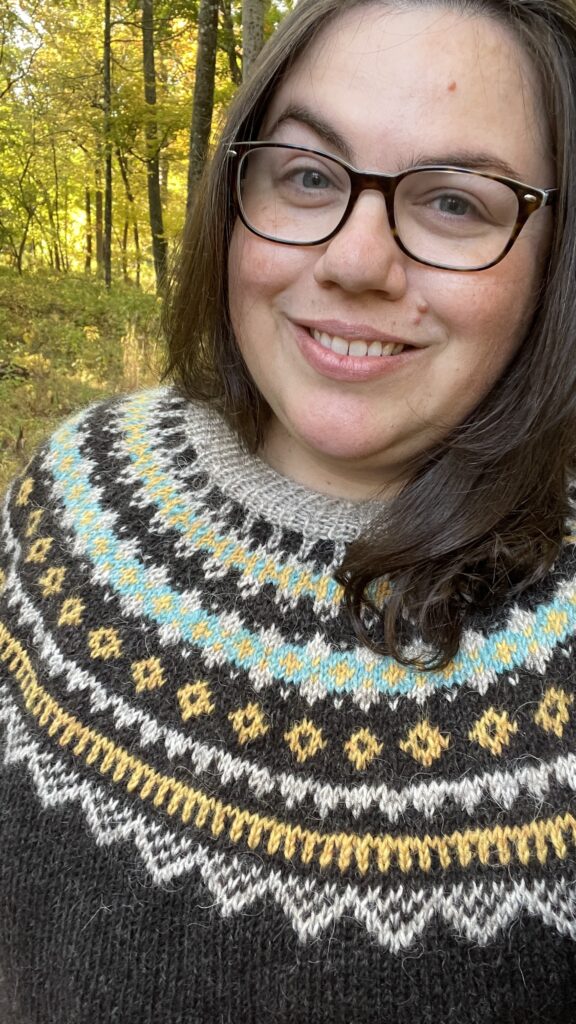
Solkatla, designed by G. Dagbjört Guðmundsdóttir for Lopi Book 36, is number “who’s counting” Lopi sweater in my collection. I’m honestly kind of obsessed with it. I just need the weather to cooperate.
Years in the Making
I’ve been dreaming of this sweater for years. This pattern book came out in 2016 and I loved it then. Around the same time, I visited friends in New York City and became mildly obsessed with the colors of the Bryant Park Hotel.

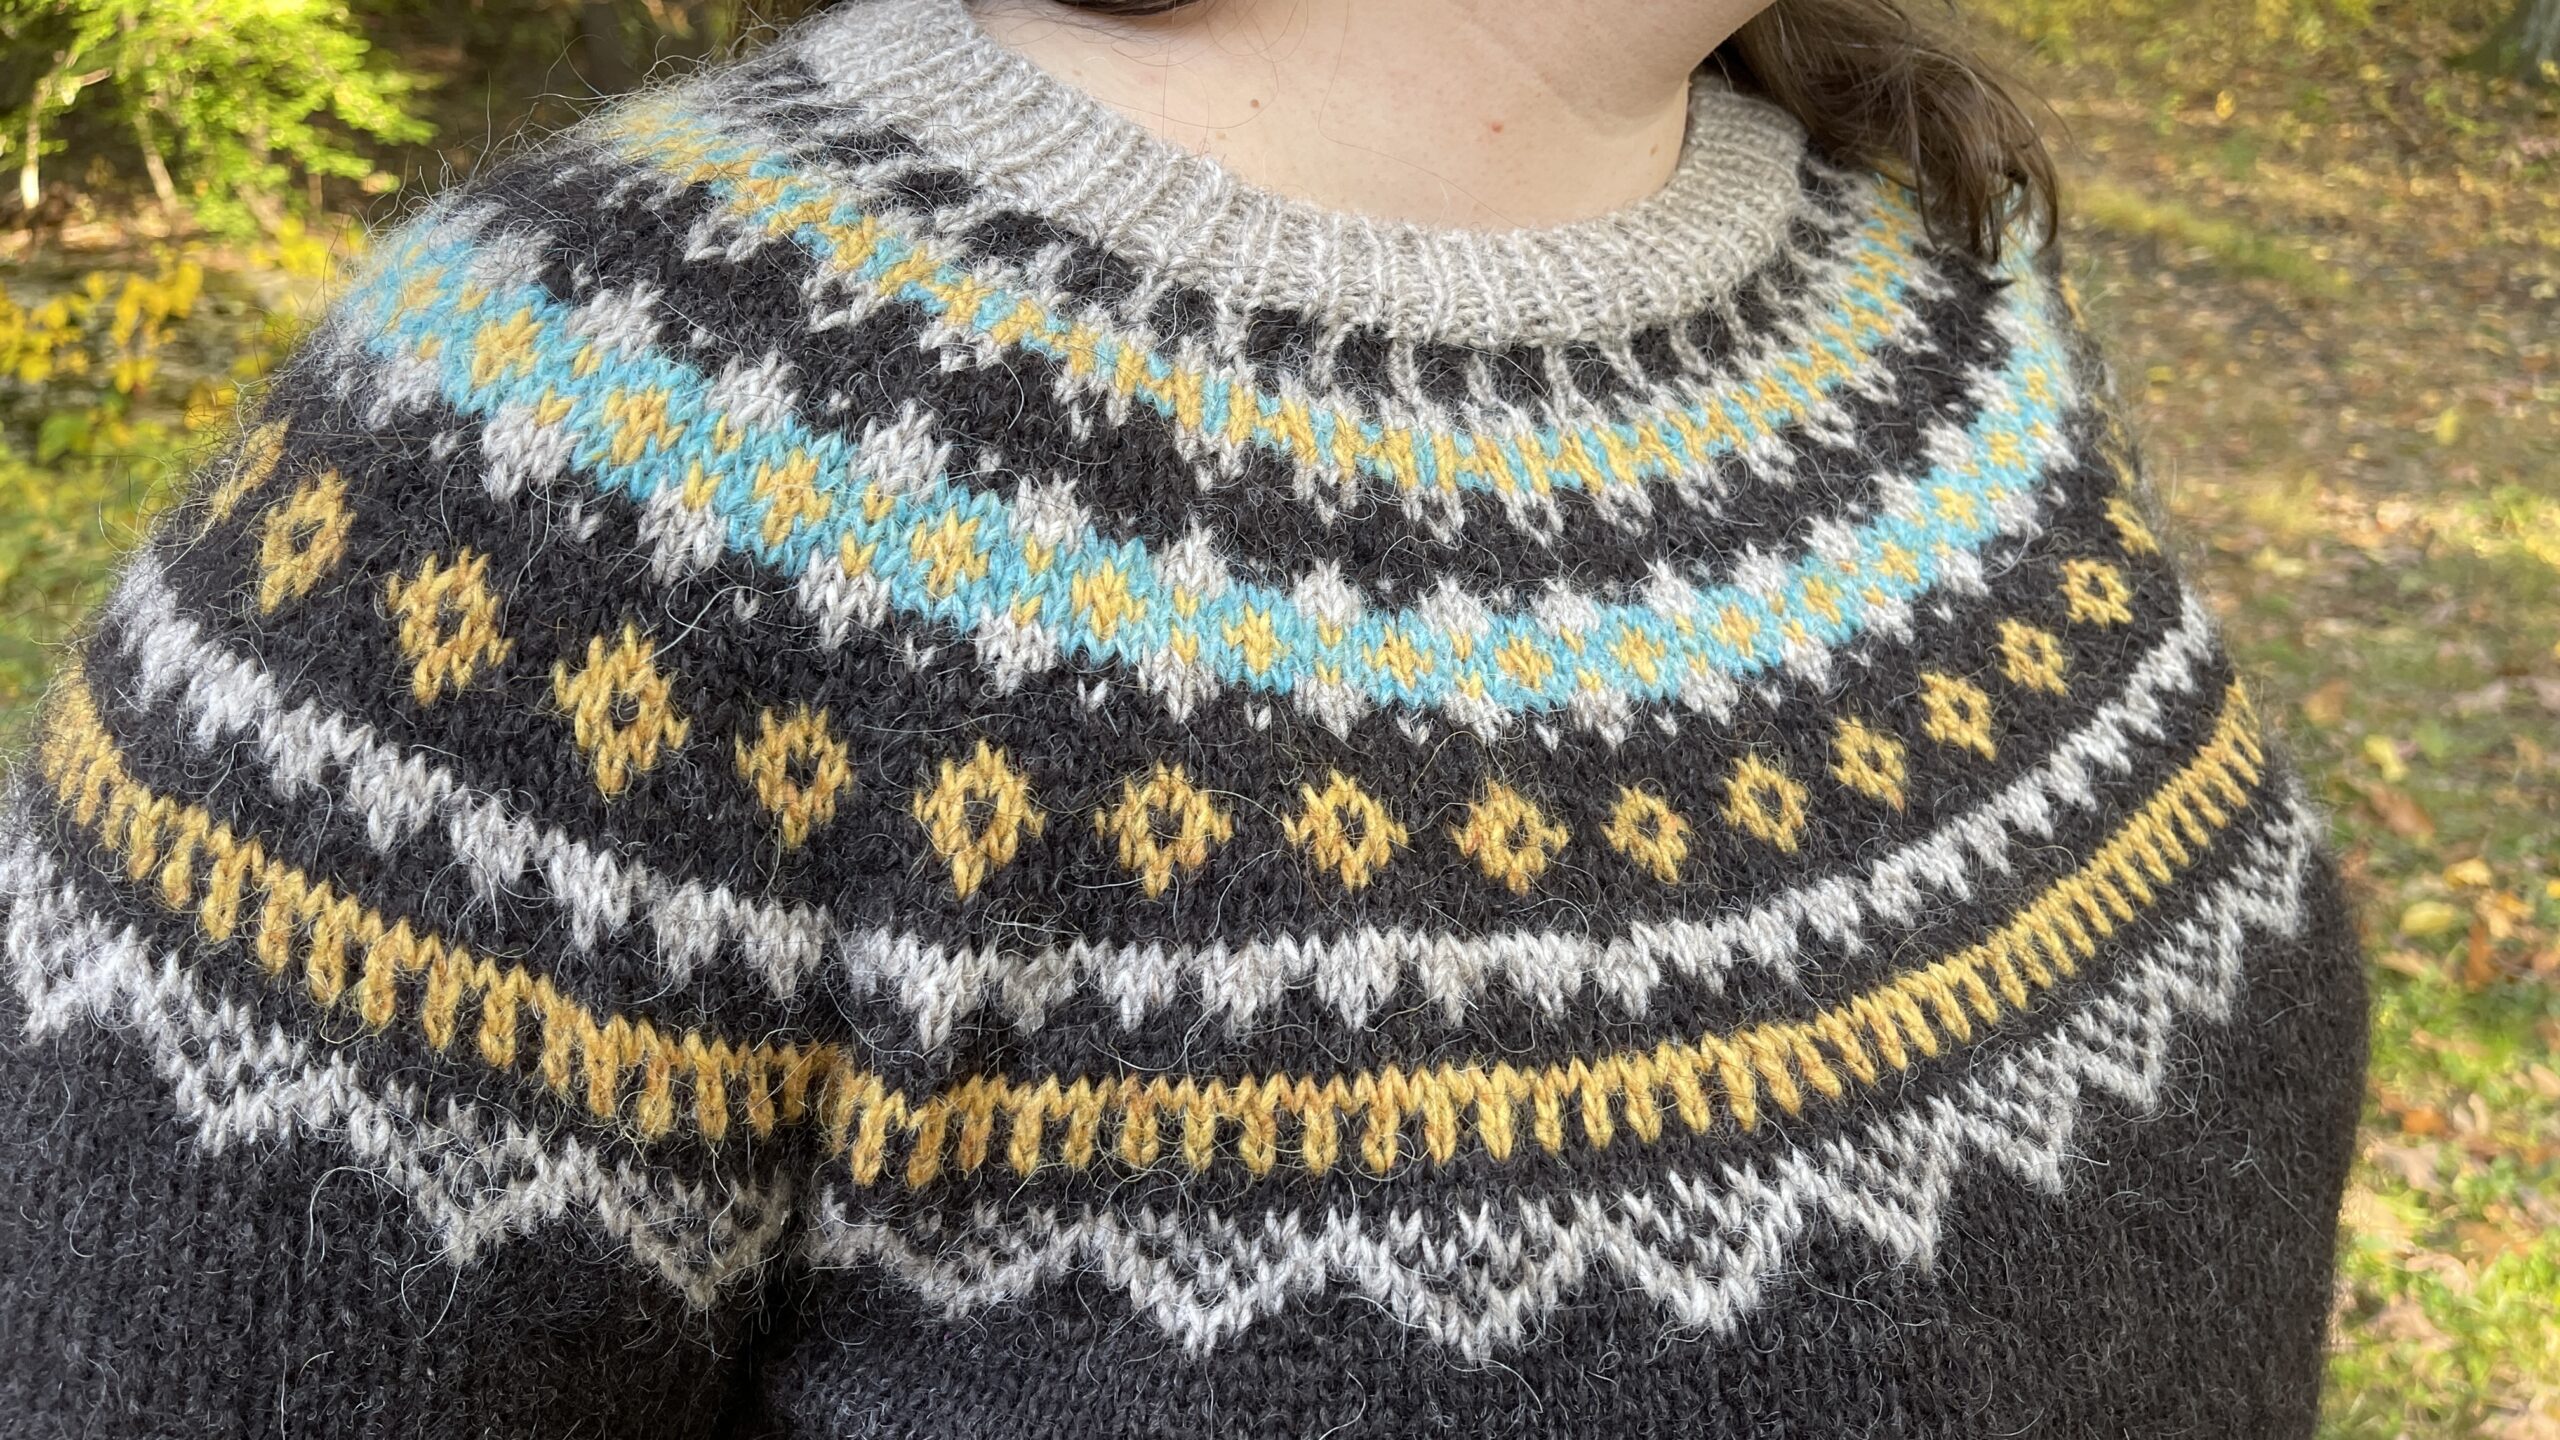
Something about that greyish brown with the gold accents and hints of cream and light blue from the sky would not leave my brain. I immediately started thinking in “sweater” (which to be fair, is not that unusual for me).
Modifying My Solkatla Sweater
The hiccup is–I could only see four colors I wanted to use. Solkatla calls for five. I’m not totally sure I came out of my haze long enough to realize that, so I had to get a bit creative when planning how I would work the colorwork pattern.
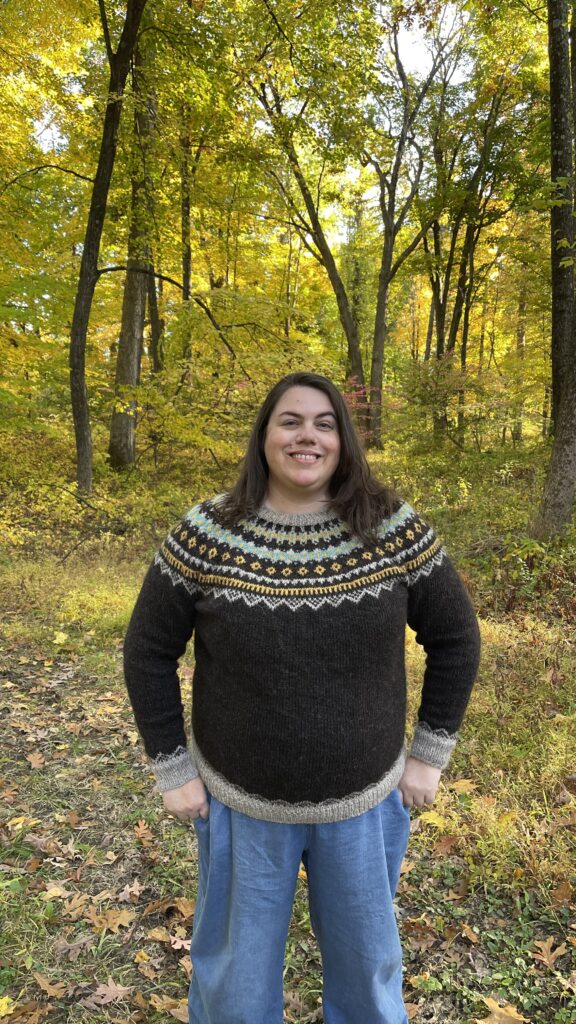
I’m so pleased with out it came out in the end. I love that bright pop of blue–it feels like it is a surprise but also works wonderfully against the dark color.
When I say this is years in the making, I mean it. I knit my swatch sleeves …sometime before 2019 probably. But didn’t get around to even starting the body. Which was fine, because the body numbers needed some work.
Like pretty much all patterns from the Istex company, this pattern size range was fairly limited. I knew I wanted a little bit more ease than I would get with the largest size, so I had to do some math.
Figuring Out How to Extend the Sizing
The first thing I did was look at the stitch count in the colorwork section, as that was going to ultimately be the deciding factor. The pattern is an 8-stitch repeat, so I knew that I needed some number of stitches before after joining the sleeves to the body that was divisible by 8. Another way of saying this is that I needed a multiple of 8 for the yoke stitch counts.
But I also needed to know how many stitches per inch I was getting, which is where the swatch sleeves came in handy. For the simplicity of everything, I’m going to say my stitch gauge was 4 stitches to the inch, or 16 stitches over 4 inches/10 centimeters.
I knew what size I wanted the body to be at the yoke. I want to say I went with 52″ but I don’t remember–as I said, I knew what I wanted, but don’t now. Here’s where we start putting things together.
A 52″ body at a gauge of 4 stitches per inch means I need to multiple 52 by 4 to determine the number of stitches I need.
52 x 4 = 208
So I cast on 208 stitches and worked my way up. Once I reached the sleeve joining round, I had to do more math. Again for simplicity sake, we’re going to say the sleeves were 60 stitches each at the widest part.
208 + 60 + 60 = 328
Added bonus, 328 is divisible by 8, so we could, theoretically, start the yoke right away.
There is Always a Catch
HOWEVER. You need to subtract some stitches for the underarm. Those underarm stitches that you graft or sew closed at the end. The easiest thing to do here would be to “delete” in multiples of 8, so either 8 or 16 from each sleeve and each side of the body. The number you place on hold for the underarm is largely personal preference, though generally speaking the larger the bicep circumference, the larger the underarm seam. It just makes it easier to do things like lift your arms over your head.
Let’s say I place on holders 16 stitches from the right sleeve, 16 stitches from the left sleeve. Then I set aside 16 stitches from the right side of the body, and 16 stitches from the left side of the body. I’m removing a total of 64 stitches.
328 – 64 = 264
Guess what–264 is also a multiple of 8 (hence why it was easier to remove either 8 or 16 stitches). So now I have a yoke that is the circumference I need to fit my chest and I can just keep on knitting.
The pattern calls for one extra round of decrease stitches before working the collar, and I just worked a few extra decreases in that round to pull the neck in a little more. But you could work any amount of decreases you want to get the neck to fit the way you like.
Easier Said Than Done
I tend to think that trying to modify a patterned sweater like this is somewhat easier than a plain sweater. Here you have the relative constraints of a fairly small stitch count to work with. It’s not a cabled sweater where you can have 13+stitches to work with, and in a plain sweater, the world is your oyster, which can be great and also a pain to work out.
But honestly, it’s not that difficult. Use the number examples I laid out and plug in your own numbers and see how it works for you. The biggest thing to remember (and that I have forgotten more than once) is setting aside the stitches for the underarms on both the sleeves and the body. Seriously. Don’t forget those underarm stitches.
Hopefully this empowers you to try your hand at modifying a sweater pattern when needed. The lackadaisical Lopi knitalong is a great time to do this. I will likely be back with another post just like this as the Sing Winter pattern is also a bit limited in the size range.
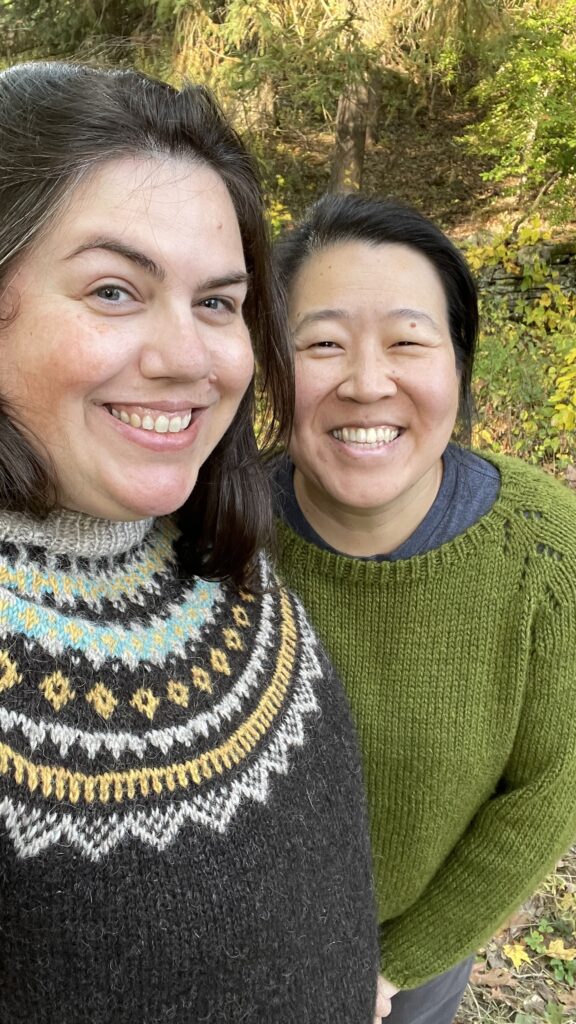
I’m getting started tomorrow, as is my friend Elaine, if she hasn’t already jumped the gun. Here she is wearing her first completed and wearable sweater, that she knit just earlier this year. I’m here to help Elaine and you through knitting a Lopi sweater, or just oohing and aahing over yours if you don’t really need help. I’ve got range.
The Details
Cast on: January 1, 2018 (ish)
Bind off: October 10, 2022
Yarn: Istex Lettlopi (100% Icelandic wool) 0052 (main), 0054 (cream), 1703 (yellow), 1404 (blue)
Size: I really thought I wrote this down this time but…
Modifications: as noted
